How to Use Dictation on a Mac Your 2026 Guide
Learn how to use dictation on a Mac with our complete guide. Master commands, improve accuracy, and unlock hands-free productivity on macOS.
Kate, Praveen
March 1, 2026
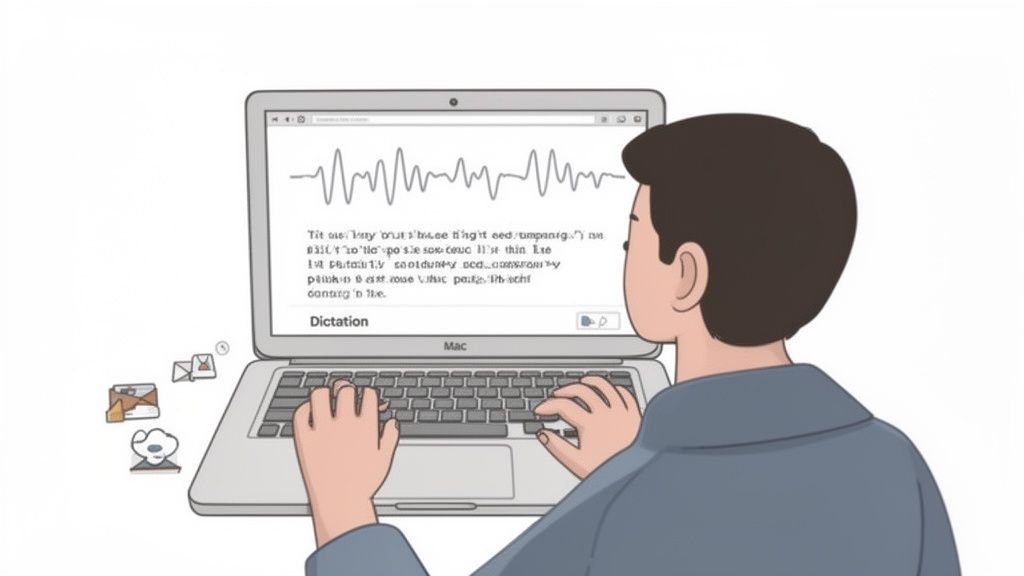
Picture this: drafting emails, writing reports, or just brainstorming ideas without ever laying a finger on your keyboard. That's exactly what Mac's built-in Dictation offers, and getting started is surprisingly simple. Once you know how to use dictation on a Mac, you just enable it and press a keyboard shortcut to start talking.
Unlock Hands-Free Productivity with Mac Dictation
Speaking your thoughts directly into text can be a massive productivity boost—not to mention a welcome break for your hands. While the average person types around 40 words per minute, most of us can speak at over 120 words per minute. That's a potential three-fold increase in speed, letting you capture ideas, fire off replies, and draft documents way faster than before.
This guide will walk you through everything you need to master this powerful feature. We’ll break down the two main dictation modes baked into macOS, each designed for different situations.
Standard Dictation vs. Voice Control
First up is Standard Dictation. Think of this as your go-to for quick, short bursts of text. It's perfect for replying to a message in Slack, jotting down a quick note in Reminders, or writing a short email. This mode sends your voice to Apple's servers for processing, which means it requires an active internet connection but works on just about any modern Mac.
The second, more powerful option is Voice Control. This is a full-blown accessibility feature that gives you complete hands-free command over your Mac. It goes way beyond just typing what you say; you can use it to open apps, click menus, scroll pages, and navigate the entire operating system with only your voice.
To help you decide which is right for you, here’s a quick rundown of what each mode offers.
Mac Dictation Features at a Glance
| Feature | Standard Dictation | Enhanced Dictation / Voice Control |
|---|---|---|
| Best For | Quick text entry, short messages, notes | Full hands-free computer control, long-form writing |
| Internet Required | Yes | No (on-device processing) |
| Privacy | Voice is sent to Apple's servers | Voice is processed on your Mac |
| Functionality | Converts speech to text | Text input, app control, navigation, editing |
| Activation | Keyboard shortcut | "Wake Up" command or manual toggle |
A huge plus for Voice Control, especially on Macs with Apple silicon, is that it processes your voice right on your device. This means it works completely offline and offers better privacy since your audio never leaves your computer.
Throughout this guide, we'll get into the nitty-gritty of turning these features on, mastering the voice commands you'll need for formatting and editing, and sharing some practical tips I've picked up to improve accuracy.
It's also important to know when to use Mac's built-in tools versus when a dedicated transcription service is the better choice. While Mac Dictation is fantastic for live input, it's not designed to convert pre-recorded audio files. If you have a stack of interviews or lectures to transcribe, that's a whole different ballgame. For that, you might want to check out our guide on voice memo dictation.
By the end, you'll have a complete toolkit for turning your speech into text, no matter the task.
When Mac Dictation Works Best?
Mac’s built-in dictation inside macOS is perfect for real-time typing replacement — emails, notes, and short drafts. It shines when you need speed and convenience without installing extra apps. Think of it as a hands-free keyboard, not a full transcription tool. For longer or recorded audio, you’ll want a dedicated solution instead.
Enable and Customize Dictation in System Settings
Getting your Mac’s dictation feature up and running is pretty simple, but it’s the little tweaks you make in the settings that really unlock its power. You’ll find everything you need in your Mac’s main control panel—called System Settings on newer macOS versions or System Preferences on older ones.
First, open up your System Settings and head over to the Keyboard section in the sidebar. This is where Apple keeps all the features related to text input. Once you’re there, just find the "Dictation" option and flick the switch to turn it on.
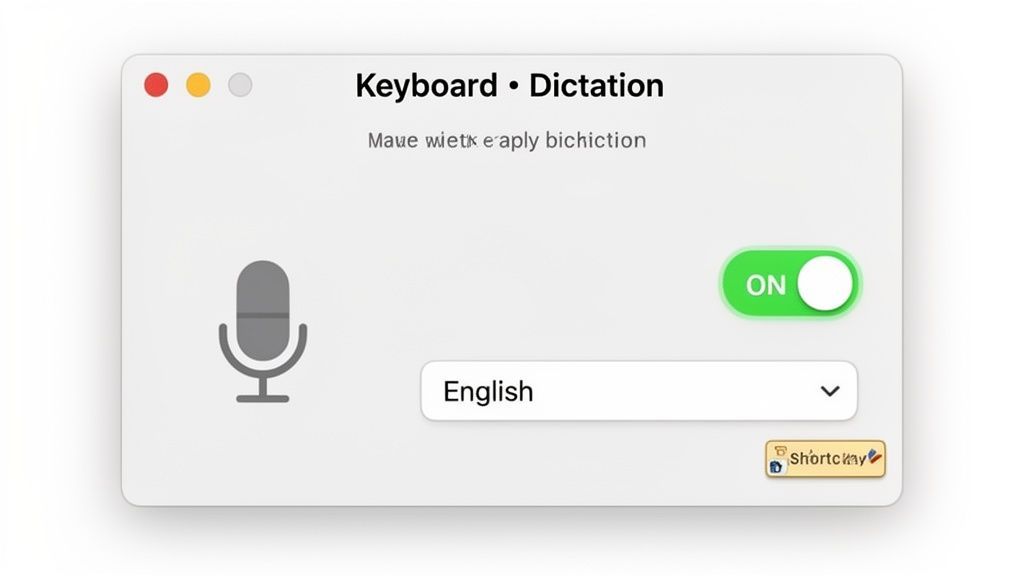
The screenshot above shows you just how easy it is in modern macOS—one click and you’re in business. All the important customization settings live right under that main toggle.
Smart Transcription Features for Longer Workflows
State-of-the-art AI
Powered by OpenAI's Whisper for industry-leading accuracy. Support for custom vocabularies, up to 10 hours long files, and ultra fast results.

Import from multiple sources
Import audio and video files from various sources including direct upload, Google Drive, Dropbox, URLs, Zoom, and more.

Speaker detection
Automatically identify different speakers in your recordings and label them with their names.
Essential Customization Options
Just turning dictation on is only half the battle. To make it work for you, you'll want to adjust a few key settings. Trust me, these small changes make a massive difference in everyday use.
Here are the settings I always recommend tweaking:
- Language: This one's a biggie. If you're bilingual, you can add multiple languages. I have mine set to English (US) but also have Spanish (Mexico) enabled. The Mac is smart enough to figure out which one I’m speaking.
- Microphone Source: Don't just settle for the default built-in mic. If you have an external microphone or a headset like AirPods, select it here. A dedicated mic closer to your mouth almost always delivers better accuracy than the one built into your MacBook.
- Shortcut: The default is to press the Microphone key or tap the Control key twice. I find that creating a custom shortcut, like Option + D, makes firing up dictation feel faster and more instinctive.
On Apple silicon Macs, there's a killer feature called On-Device Dictation. If you see this option, enable it. It processes your voice directly on your Mac instead of sending it to Apple's servers. Not only does this let you dictate offline, but it's a huge win for privacy since your words never leave your machine.
The Importance of a Modern OS
Staying on the latest version of macOS isn't just about cool new features—it directly impacts how well tools like dictation perform. With every major software update, Apple refines its voice recognition models, which means better accuracy and a more responsive experience for you.
You can see how quickly users jump on new updates. Telemetry data shows that new macOS versions tend to dominate market share within just a few months of release. This tells us that most Mac users are already on systems where dictation performance is at its best. If you're curious, you can dig into the data on macOS version adoption to see these trends yourself.
By making sure your system is up-to-date and spending a few minutes personalizing these settings, you’ll be set up for a much smoother, frustration-free experience when using dictation on your Mac.
Master Dictation Commands for Effortless Writing
Turning on dictation is just the first step. The real magic happens when you learn to speak its language, going beyond simple transcription to truly write and edit hands-free. This is what separates basic users from people who have integrated dictation seamlessly into their workflow.
Just think about it like learning keyboard shortcuts. You could always use your mouse to copy and paste, but once Command-C and Command-V become muscle memory, you’re suddenly moving at a different speed. It’s the same with voice commands. Learning to say "new paragraph" or "bold that" feels a little weird at first, but it quickly becomes second nature and keeps you in a state of creative flow.
Formatting and Editing on the Fly
Once you’re comfortable dictating your sentences, you can start using commands to format and edit as you go. This is where you’ll see huge productivity gains. Imagine writing a report and highlighting a key finding without ever breaking your train of thought to reach for the mouse.
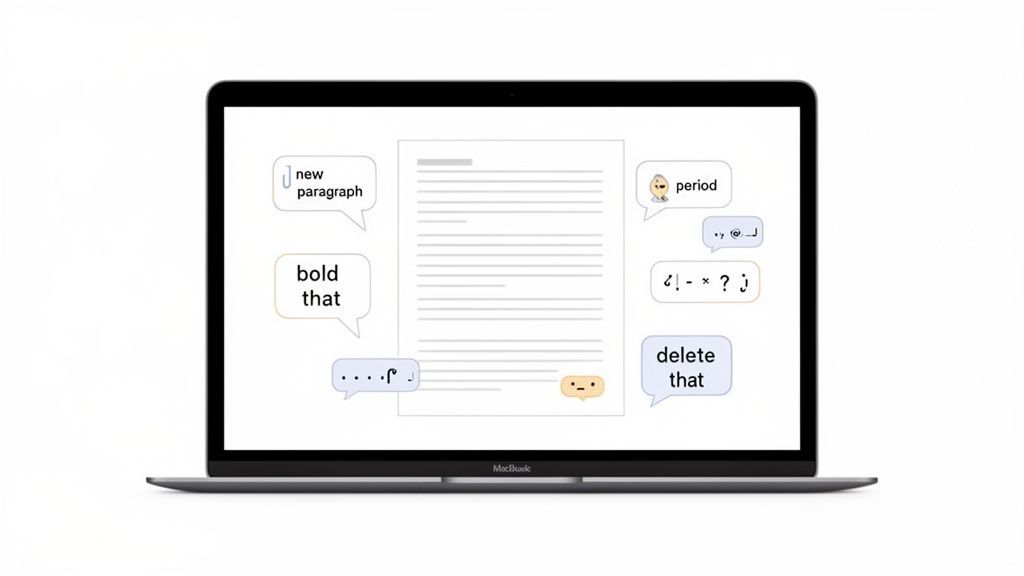
A few quick examples for formatting include:
- Bold that: Bolds the last phrase you spoke or whatever text is currently selected.
- Italicize that: Does the same, but for italics.
- Capitalize that: Capitalizes the first letter of each word in the last phrase.
- All caps that: Makes the entire last phrase uppercase.
Editing is just as simple. Made a mistake? Don't worry about it. You can correct it instantly with commands like these:
- Delete that: Gets rid of the last thing you said.
- Undo that: Reverts the very last action you performed.
- Select previous word: Highlights the word right before your cursor.
- Replace [old word] with [new word]: Finds and swaps a specific word.
Let's put it into practice. You could say: "The project deadline is this Friday bold that." Your Mac immediately types: "The project deadline is this Friday." This ability to shape your document in real-time is what mastering how to use dictation on a Mac is all about.
Essential Mac Dictation Commands
To really get fluent, it helps to have a cheat sheet of the most common commands. While your Mac knows hundreds, you’ll probably use the same handful over and over again. I’ve put together a quick-reference table with the commands I find most useful for day-to-day writing.
| Category | Command Example | Action Performed |
|---|---|---|
| Punctuation | "period" or "full stop" | Inserts a period (.) |
| Punctuation | "comma" | Inserts a comma (,) |
| Punctuation | "question mark" | Inserts a question mark (?) |
| Punctuation | "exclamation point" | Inserts an exclamation point (!) |
| Navigation | "new line" | Moves the cursor down one line |
| Navigation | "new paragraph" | Moves the cursor down two lines |
| Formatting | "bold that" | Bolds the last spoken phrase or selected text |
| Formatting | "italicize that" | Italicizes the last spoken phrase or selected text |
| Formatting | "all caps [word]" | Types a word in all capital letters (e.g., "all caps ASAP") |
| Editing | "delete that" | Deletes the last spoken phrase |
| Editing | "undo that" | Reverts the last action |
| Editing | "select last word" | Highlights the word immediately before the cursor |
Bookmark this page or keep these nearby. The more you use them, the more they become an effortless extension of your thoughts, transforming how you capture ideas.
The key is to speak the command naturally, without pausing before or after. Just say, "I'm heading to the store comma and I'll be back soon period." It feels strange for a day or two, but then it just clicks.
Practical Tips for Improving Dictation Accuracy
Nothing kills your dictation flow faster than your Mac consistently mishearing you. If you find yourself spending more time making corrections than actually speaking, it's time for a tune-up. The good news is that you can dramatically improve accuracy with just a few strategic adjustments.
The single biggest change you can make? Ditch your Mac’s built-in microphone. While it’s convenient, it’s usually too far away and picks up every stray sound in the room. Investing in a quality external microphone or even using a basic headset with a mic—like AirPods—brings the input source closer to your mouth, giving the system a much clearer signal to work with.
Avoid Noisy Environments
Background noise dramatically reduces dictation accuracy. Cafés, fans, or multiple voices can cause constant mistakes and wasted editing time. Always choose a quiet room or use a noise-isolating headset to maintain clean audio input.
Speak with Intention
It’s not just about what you say, but how you say it. Your Mac’s dictation isn't a conversational partner; it's a tool that thrives on clear instructions. To help it understand you better, try these techniques:
- Keep a Consistent Pace: Don't rush your words, but also avoid long, unnatural pauses in the middle of a sentence. Find a steady, deliberate rhythm and stick with it.
- Enunciate Clearly: Mumbling is the absolute enemy of accuracy. Make a conscious effort to pronounce your words distinctly, paying attention to the beginnings and ends of words.
- Speak in Full Phrases: Dictation works best when it has the context of a full sentence. Speaking single words out of context is a recipe for errors.
The goal isn't to sound robotic, but to be deliberate. Think of it like leaving a clear voicemail—you naturally speak a bit more formally and carefully than you would in a casual chat to make sure the message is understood perfectly on the first listen.
This clear communication helps the system better predict the words you intend to use. For a deeper dive, understanding the factors that influence speech-to-text accuracy can help you set realistic expectations for any voice-to-text tool.
Control Your Environment
Your surroundings have a massive impact on dictation quality. The system is trying to isolate your voice from everything else, so minimizing background noise is crucial. Working in a quiet room is the ideal scenario.
If that’s not possible, do what you can to reduce ambient noise from open windows, televisions, or nearby conversations. It really does make a difference. Testing shows that while Apple Dictation can reach 96-97% accuracy in quiet settings, that number can plummet to 85-90% in a noisy café.
Teach Your Mac New Words
One of the most powerful yet overlooked features is the ability to teach your Mac a custom vocabulary. This is a complete game-changer if you frequently use specific names, industry jargon, or technical terms that the default dictionary just doesn't know.
Imagine you're a designer who constantly says "Figma" but your Mac keeps typing "Fig ma" or "Phoebe." Instead of correcting it every single time, you can add "Figma" directly to your vocabulary.
You can do this right inside Voice Control:
- Navigate to System Settings > Accessibility > Voice Control.
- Click the Vocabulary button.
- Hit the (+) icon and type the word or phrase you want to add.
This simple action trains your Mac to recognize and correctly spell the words that are unique to your work or personal life. By combining a good microphone, clear speech, and a custom vocabulary, you'll be well on your way to a much more accurate and efficient dictation experience.
Choosing Between Mac Dictation and a Pro Transcription Service
While getting the hang of how to use dictation on a Mac is a huge productivity boost, it’s just as important to know where it hits its limits.
The built-in tool is a champ for real-time, short-form tasks. It’s fantastic for drafting a quick email, replying to a message, or capturing a thought in your notes before it disappears. Think of it as your hands-free keyboard for live input.
But the second your task involves a pre-recorded audio or video file, Mac Dictation hits a wall. It simply wasn't built to transcribe interviews, meetings, or podcast recordings. This is where a dedicated AI transcription service like Transcript.LOL becomes the only practical choice.
Transcription Features You Don’t Get with Dictation
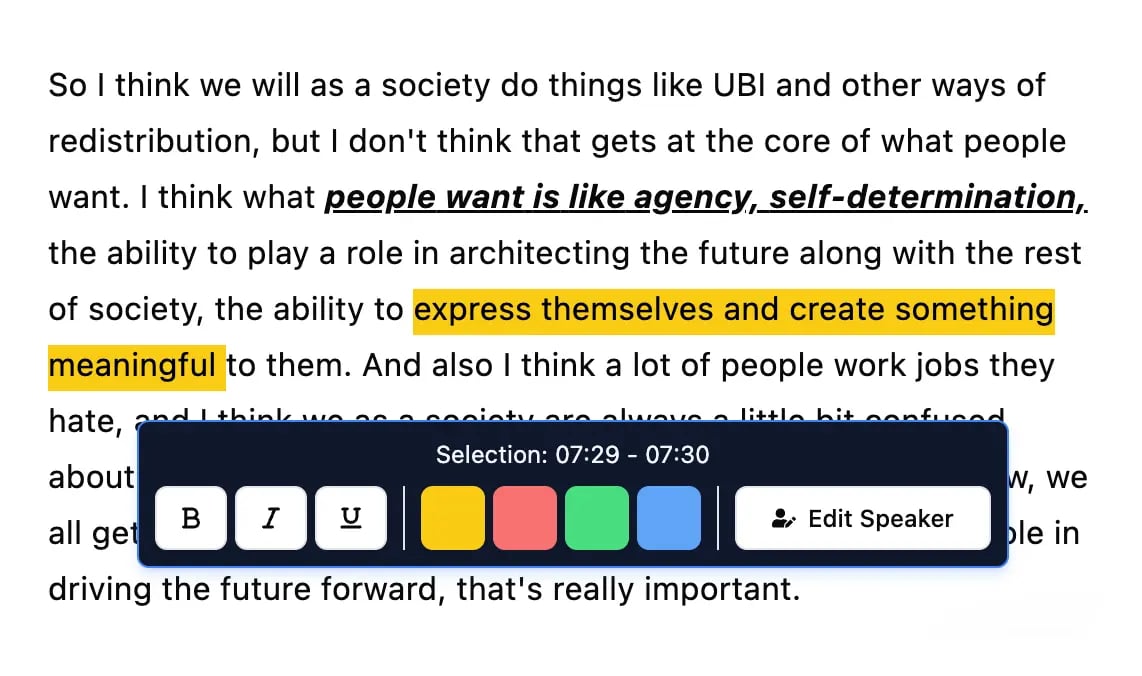
Editing tools
Edit transcripts with powerful tools including find & replace, speaker assignment, rich text formats, and highlighting.
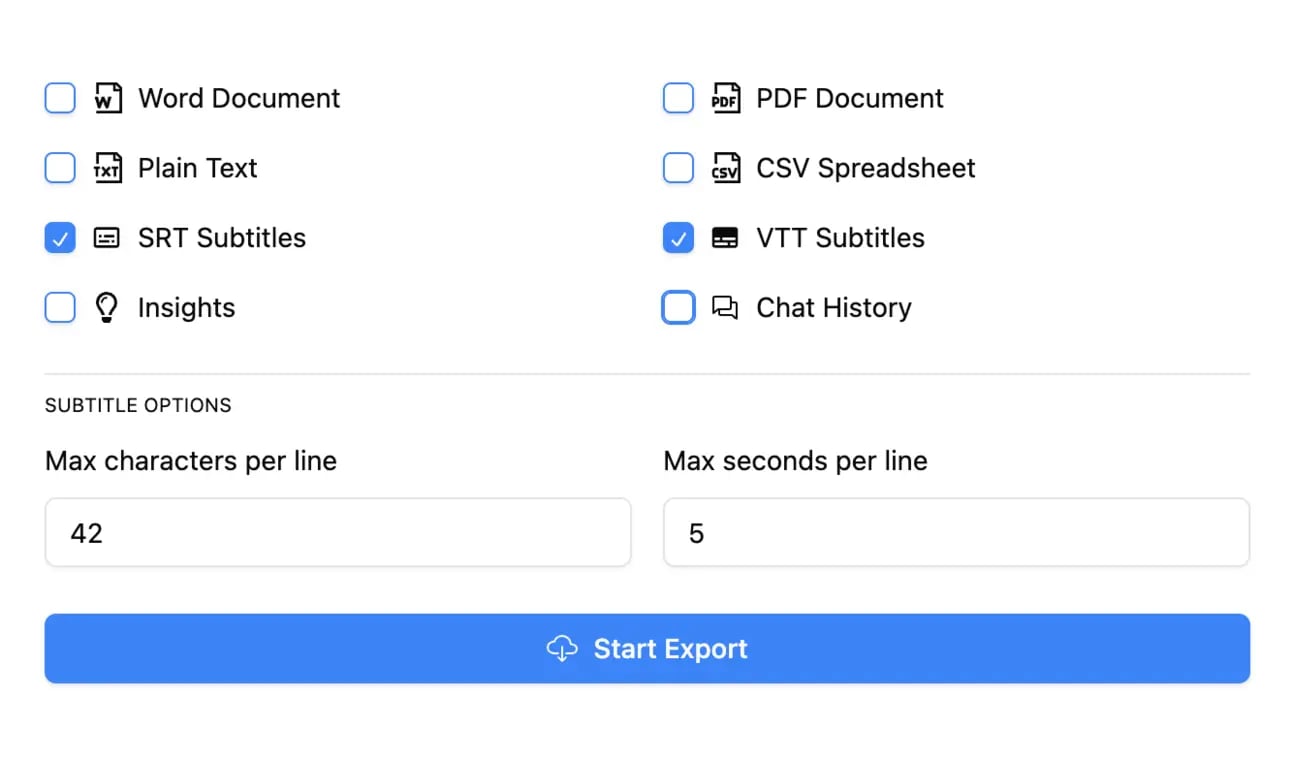
Export in multiple formats
Export your transcripts in multiple formats including TXT, DOCX, PDF, SRT, and VTT with customizable formatting options.
Summaries and Chatbot
Generate summaries & other insights from your transcript, reusable custom prompts and chatbot for your content.
Why Mac Dictation Fails with Recorded Audio
Trying to transcribe a recording with Mac Dictation is a recipe for frustration. You'd have to play the audio out loud from another device and hope your Mac's microphone picks it up cleanly—a method that guarantees errors and a poor-quality transcript.
It has some major limitations for this kind of work:
- No Speaker Identification: The tool can't tell who is speaking. It just mashes all the dialogue together into a single, confusing block of text.
- No Timestamps: You get zero timestamps. This makes it impossible to reference a specific point in the audio or sync the text to video for captioning.
- Poor Accuracy on Complex Audio: It struggles badly with background noise, people talking over each other, or different accents. These are all common in real-world recordings.
This flowchart gets to the heart of the matter: if the tool isn't accurate, you have to find a way to fix it or use something else.
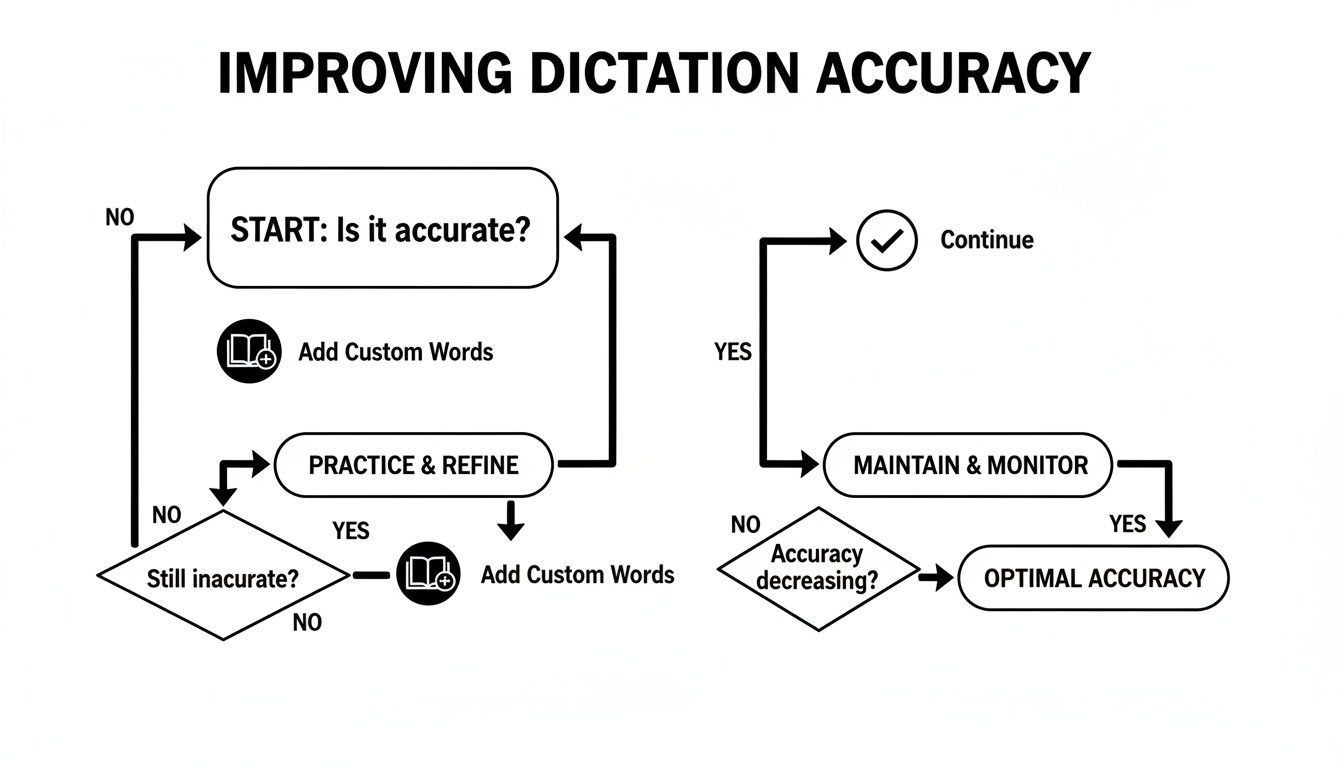
For live dictation, teaching it custom words can help. But for recorded audio, you’re better off starting with a tool designed for the job.
The Professional Service Advantage
This is where a dedicated platform makes all the difference. Services built on advanced AI models deliver far better accuracy right out of the gate. They handle the complexity of recorded audio with ease, turning a messy file into a clean, usable document.
A dedicated transcription service isn't just about converting speech to text. It's about delivering a usable, professional document ready for your workflow, saving you hours of manual editing.
These services deliver the features that Mac Dictation is missing, like clear speaker labels and precise timestamps. They also give you export options like DOCX for reports, SRT for video subtitles, and plain text for easy sharing. You can get a better sense of how transcription services cost and the value they bring to the table.
The bottom line is simple. Use Mac Dictation for your own live thoughts and quick notes. But for any polished, shareable transcript from a recording, a professional service is the way to go.
When to Upgrade Your Workflow?
If you regularly transcribe meetings, podcasts, interviews, or lectures, switching to Transcript.LOL will save hours every week. Dedicated transcription tools handle long recordings, multiple speakers, and exports automatically - tasks basic dictation simply isn’t built for.
And if you're taking your ideas even further—say, from a series of dictated notes or interviews into a final manuscript—you might even look at what a professional book writing service can do to bring it all together.
A Few Common Questions About Mac Dictation
Even after getting everything set up, a few questions almost always pop up. Let's tackle the most common ones I hear, so you can start using dictation like a pro.
Can I Use Mac Dictation Offline?
Yes, you can—but there's a catch. This feature, which Apple calls On-Device Dictation, is only available on Macs with Apple silicon. If you have one, you can enable it in your Keyboard settings. All the processing happens right on your machine, so you don't need to be connected to the internet.
For those with older Intel-based Macs, dictation has to send your voice to Apple's servers to figure out what you're saying. That means you’ll need an active internet connection for it to work.
Why Does Dictation Keep Stopping After a Few Seconds?
This is a classic. The standard dictation feature has a pretty short attention span, usually around 30-40 seconds per go. If you pause for more than a moment to gather your thoughts, it assumes you're done and shuts off.
If this is driving you crazy, switch over to Voice Control. It’s built for continuous, long-form dictation and will keep listening until you tell it to "Go to sleep." It's a game-changer for drafting longer documents.
How Do I Add Names or Technical Terms?
It's beyond frustrating when your Mac mangles a colleague's name or a common bit of industry jargon. Thankfully, you can teach it new words by adding them to your Mac's vocabulary.
Here’s how to do it in the Voice Control settings:
- Head to System Settings > Accessibility > Voice Control.
- Find and click the Vocabulary... button.
- Click the plus icon (+) to type in your custom word or phrase.
Once you add a word like "Zendesk" or a unique name like "Saoirse," your Mac will get it right from then on. Taking a minute to do this pays off big time in accuracy, especially for specialized work.
Is Mac Dictation Secure and Private?
Apple has definitely put a lot of effort into privacy here. When you're using On-Device Dictation (on an Apple silicon Mac), your voice never leaves your computer. That’s as private as it gets.
If your Mac uses the server-based version, your audio is sent to Apple, but it's tied to a random identifier, not your Apple ID. Apple states that it doesn't store this data long-term. If you're curious about privacy and other common user questions, you might find some useful info on our general FAQs page, too.
For transcribing pre-recorded audio like interviews, meetings, or lectures, a dedicated tool is the way to go. Mac dictation is for live input, not files. Transcript.LOL uses powerful AI to convert your recordings into accurate, polished documents in seconds, complete with speaker labels and easy export options. Get your first transcript today.